Jul
Why Mosaics Are a Popular Choice for Pools
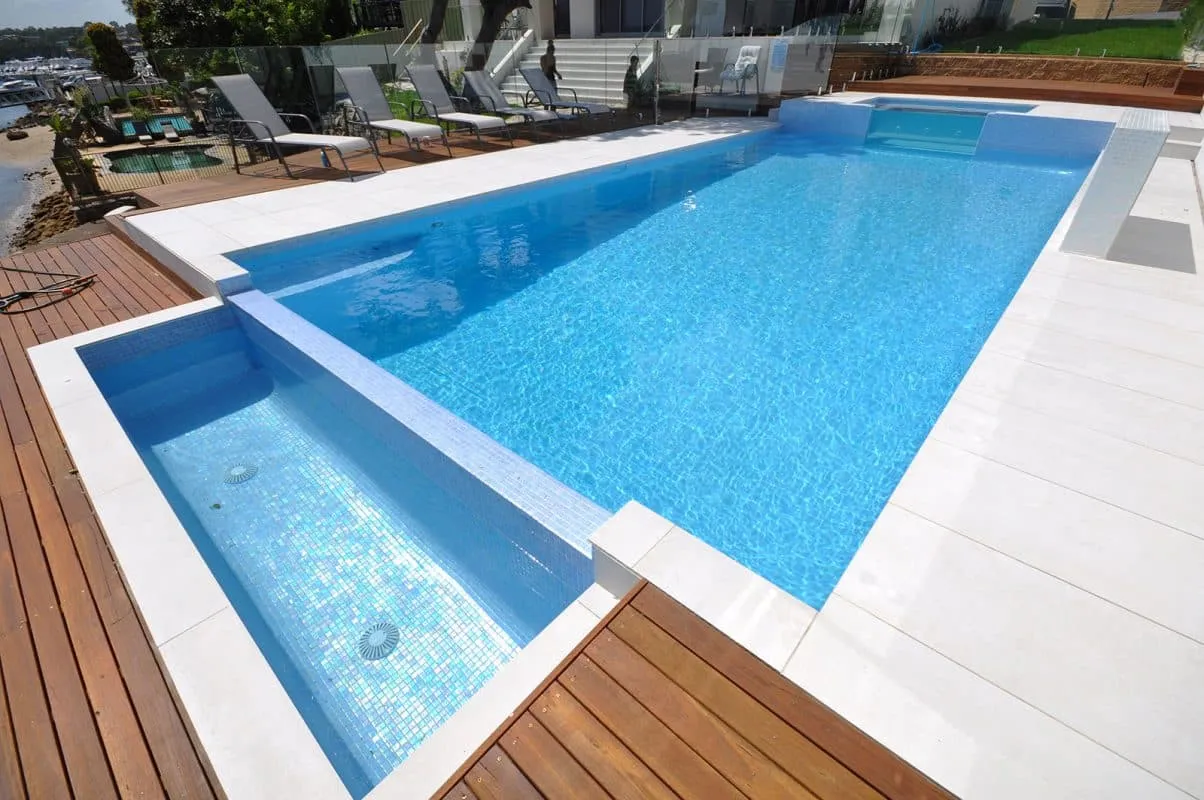
Mosaic tiles have been a timeless and elegant choice for pools, offering artistic beauty, durability, and versatility. They transform a basic swimming pool into a stunning visual masterpiece, adding depth, color, and movement to the water.
Beyond their aesthetic appeal, mosaics are also known for their longevity and resilience. They can withstand constant water exposure, chemicals, and temperature fluctuations, making them an excellent long-term investment. Whether you’re designing a luxury infinity pool, a backyard oasis, or a resort-style retreat, installing mosaics in pools elevates the overall ambiance and functionality.
Before starting your pool mosaic installation, it’s essential to understand the materials, installation techniques, and maintenance requirements to ensure a flawless and long-lasting finish.
1. Choosing the Right Mosaic Tiles for Your Pool
Best Materials for Pool Mosaics

When installing mosaics in pools, selecting the right tile material is crucial for durability, water resistance, and maintenance ease. The most common materials include:
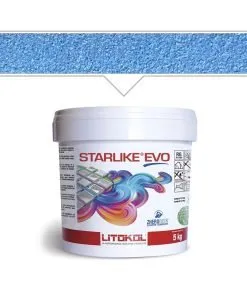
- Glass Mosaics – The most popular choice for pool mosaics, offering vibrant colors, reflective properties, and non-porous surfaces.
- Porcelain Mosaics – Highly durable and resistant to fading, moisture, and chemicals.
- Stone Mosaics – Provide a natural, textured look, ideal for spa areas and earthy, rustic designs.
Factors to Consider When Selecting Pool Mosaics
- Slip Resistance – Choose textured or matte-finish mosaics for steps, edges, and shallow areas.
- Color and Light Reflection – Lighter colors enhance water clarity and brightness, while darker shades create a deep, luxurious look.
- Tile Size and Pattern – Smaller tiles (1”x1” or 2”x2”) allow for intricate designs and smooth surface transitions.
2. Preparing the Pool Surface for Mosaic Installation
Importance of a Smooth Surface
A properly prepared pool surface is critical for a seamless mosaic tile installation. Any irregularities, rough textures, or gaps can cause uneven tiles or weak adhesion, leading to premature damage.
Steps to Prepare the Pool Surface
- Clean and Smooth the Surface – Remove any debris, dust, or old coatings to ensure maximum adhesion.
- Apply a Waterproof Membrane – This prevents moisture penetration and enhances tile longevity.
- Ensure Proper Leveling – Fill any cracks or uneven areas with a pool-grade leveling compound.
- Select the Right Adhesive – Use high-performance, waterproof thin-set mortar to ensure a strong and lasting bond.
3. The Installation Process – Step-by-Step Guide
Applying the Adhesive and Placing the Mosaics
Spread Thin-Set Mortar Evenly
To ensure a strong bond when installing mosaics in pools, begin by applying a uniform layer of thin-set mortar:
- Use a notched trowel to spread the adhesive evenly across the prepared surface.
- Avoid applying too much adhesive, as excess can seep through the tiles and make grouting more difficult.


Place the Mosaic Sheets Carefully
Proper placement of swimming pool side tiles is essential for achieving a seamless finish:
- Gently press the mesh-backed mosaic sheets onto the adhesive.
- Align the sheets properly to maintain even spacing and straight grout lines for a uniform look.
Use a Beating Block for Proper Bonding
To ensure the swimming pool side tiles adhere securely:
- Lightly tap the tiles using a rubber float or beating block to eliminate air pockets.
- This process helps distribute the adhesive evenly beneath the tiles for a firm and lasting hold.
Check Alignment and Adjust if Necessary
Before the adhesive sets:
- Make small adjustments to ensure seamless transitions between mosaic sheets.
- Proper alignment ensures that the swimming pool side tiles provide a smooth, continuous surface.
Grouting the Mosaic Tiles
Once the tiles are set and the adhesive has fully cured, it’s time to apply grout to secure and seal the installation.
Choose an Epoxy or Waterproof Grout
- Epoxy grout is the best option when installing mosaics in pools as it resists water, stains, and chemical damage.


- Avoid cement-based grout, as it absorbs moisture and can lead to discoloration over time.
Apply Grout with a Rubber Float
- Spread grout diagonally across the tile surface, ensuring all joints between the swimming pool side tiles are completely filled.
- Work in small sections to prevent grout from drying too quickly.
Wipe Excess Grout Before It Hardens
- Use a damp sponge to clean the tiles, removing excess grout without pulling it out of the joints.
- Rinse the sponge frequently to avoid spreading grout residue across the tile surface.
Allow Proper Curing Time
- Follow the manufacturer’s recommended curing time, usually 24 to 48 hours, before filling the pool with water.
- This step is crucial to ensure the swimming pool side tiles are fully sealed and set for long-term durability.
4. Maintenance Tips for Pool Mosaics
Keeping Swimming Pool Side Tiles in Excellent Condition
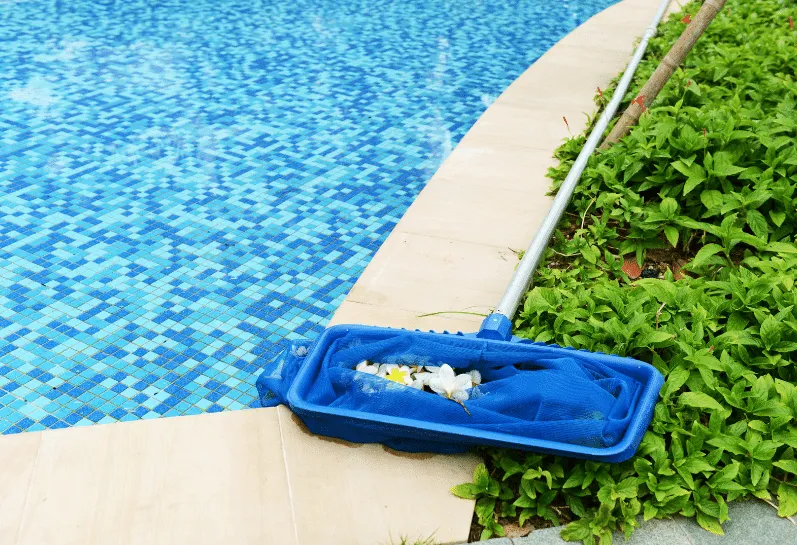
Regular maintenance is essential to preserve the beauty, durability, and longevity of swimming pool side tiles. Follow these key maintenance tips:
Regular Cleaning
- Use a non-abrasive pool brush to remove calcium buildup, algae, and dirt that can accumulate on the tiles.
- Avoid harsh chemical cleaners, as they can degrade the grout and dull the tile finish over time.
Maintain Balanced Pool Chemistry
- High chlorine levels and incorrect pH balance can cause grout deterioration and tile discoloration.
- Keep pH levels between 7.2 and 7.6 to ensure the swimming pool side tiles remain in excellent condition.
Inspect for Loose Tiles and Repair Promptly
- Regularly inspect your pool for any cracked, chipped, or missing tiles.
- Address any damage immediately to prevent water infiltration, which can lead to structural issues.
Reapply Grout Sealant Annually
- A high-quality grout sealant helps prevent moisture penetration, stains, and algae growth.
- Sealing the grout once a year extends the life of your swimming pool side tiles and maintains their vibrant appearance.
By following these steps, you can ensure that installing mosaics in pools results in a long-lasting, visually stunning, and durable finish that enhances both aesthetics and functionality.
5. Common Mistakes to Avoid When Installing Pool Mosaics
1. Skipping Waterproofing Steps
Not applying a waterproof membrane can lead to moisture seepage and adhesive failure.
2. Using the Wrong Grout
Regular grout is not designed for pools; always use waterproof or epoxy-based grout.
3. Rushing the Curing Process
Filling the pool too soon can weaken the tile bond. Always allow sufficient drying time.
4. Ignoring Tile Alignment
Unevenly placed tiles can disrupt the design and create sharp edges that affect comfort and safety.
Final Thoughts – Ensuring a Successful Pool Mosaic Installation
Installing mosaics in pools is not just about adding a decorative touch—it is a meticulous process that requires expertise, precision, and patience. The right materials, proper preparation, and correct installation techniques all contribute to a long-lasting and visually stunning result. A well-installed mosaic pool can transform an ordinary swimming space into a luxurious retreat, enhancing the overall experience with vibrant colors, intricate designs, and reflective water effects.
When done correctly, mosaic tiles not only elevate the pool’s aesthetics but also increase durability and ease of maintenance. Poor installation or low-quality materials can lead to loose tiles, grout deterioration, and water seepage, which ultimately reduces the lifespan of your investment. By following the correct installation steps and using the right products, you can ensure that your mosaic pool remains in perfect condition for years to come.
Upgrade Your Pool with Stunning Mosaic Tiles
A pool is more than just a place to swim—it’s a centerpiece of relaxation, entertainment, and beauty. By investing in premium mosaic tiles and expert installation, you can create a unique and elegant water feature that will impress for years to come. Whether you prefer classic blue mosaics, intricate artistic designs, or bold, modern patterns, the right choice of tiles will define the ambiance of your pool.
At PoolTile.ca, we offer a curated selection of high-end mosaic tiles in a variety of colors, textures, and designs to match any style. Our team of pool design experts is ready to help you choose the perfect mosaic tiles that will enhance your swimming space with elegance and durability.
Contact Us Today!
Ready to transform your pool with stunning mosaic tiles? Get in touch with PoolTile.ca today to explore our premium collection of luxury pool mosaics and bring your dream pool to life!