How to Install Pool Tiles on Steel Pools
What’s the quickest way to ruin your new pool? Without a doubt, improper installation that leads to leaks! However, with the right approach, you can avoid these costly mistakes and ensure your pool stands the test of time. Learning how to install pool tile on steel pools properly is the key to achieving a durable and watertight result.
To achieve this, we use an innovative system specifically designed for installing pool tiles on steel pools. By following this method, homeowners can confidently enjoy a watertight and durable pool.
Additionally, with the inclusion of gorgeous glass mosaic tiles, the pool becomes not only more robust than a typical PVC liner but also significantly more attractive.

Step 1: Waterproof the Walls
Start by attaching a self-adhesive sheet to the steel walls. This crucial step seals the basin and prevents water from escaping.
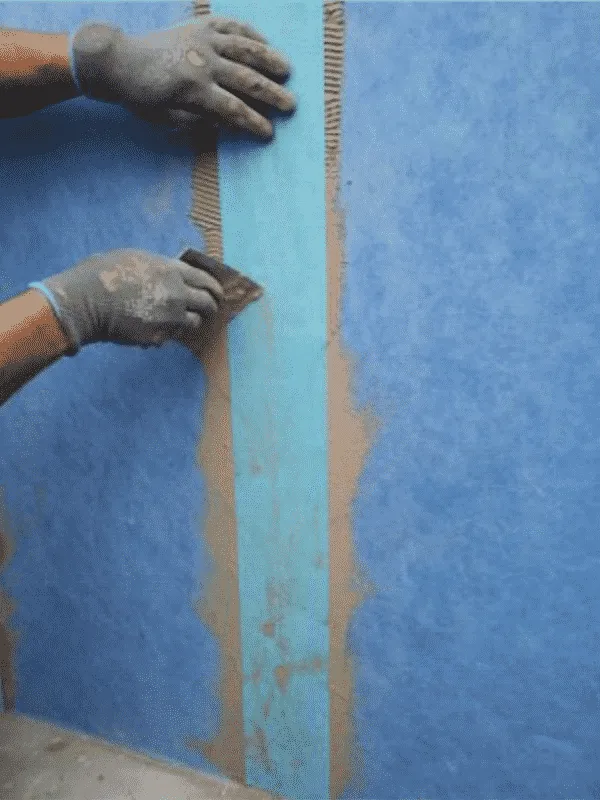
Step 2: Seal the Walls
Next, secure the joints between the sheets with waterproof tape. Use the correct adhesive to ensure a solid and lasting seal.
Step 3: Waterproof the Floor
After sealing the walls, move on to the floor. Apply self-adhesive sheets over the concrete slab at the pool’s base. For maximum effectiveness, overlap the sheets by at least 5 cm. Then, seal these overlaps tightly with the same adhesive used earlier.
Step 4: Waterproof the Gap Between the Walls and Floor
Once the floor is waterproofed, cover the junction between the walls and the floor with waterproof tape. Carefully seal this tape with a durable adhesive to create a seamless barrier.
Step 5: Seal the Pool Accessories
Now, address all the pool accessories, such as lights and impellers. Using a special putty, seal these components to prevent any water leakage..
Step 6: Install the Pool Tiles
Finally, it’s time to bring the pool to life! Lay the beautiful glass mosaic tiles using the adhesive and grout recommended by the manufacturer, Ezarri. This final step ensures both durability and elegance.
By carefully following these steps, you can ensure a durable and watertight steel pool. Furthermore, the addition of beautiful glass mosaic tiles enhances both the functionality and aesthetics of your pool. Ultimately, this method combines innovation, practicality, and style, giving homeowners a pool that is built to last. With proper installation and attention to detail, you can avoid common issues like leaks and enjoy a stunning, long-lasting pool experience.