

Design, Trends & Aesthetics, Installation Efficiency & Labor
Best Practices for Tiling Curved Pool Surfaces

Nov
Introduction to Pool Tile Installation on Curved Surfaces
Pool tile installation on curved surfaces can present unique challenges that require specific techniques. Proper execution ensures long-lasting beauty and functionality, especially in regions like Toronto. This guide covers the essentials to help you master tiling curved pools effectively. Understanding the fundamentals of the process guarantees a successful outcome in your project. By focusing on practical methods, you can avoid common mistakes and enhance durability.
Pool tile installation involves placing tiles securely on pool surfaces, adhering to a variety of shapes including curves. Curved pool tiles demand extra attention due to their irregular surfaces. The process requires careful planning, appropriate materials, and skilled workmanship. Curved pool surface tiling differs from flat surface practices, necessitating customized approaches. Learning how to tile pool curves properly is vital for both aesthetics and structural integrity.
The main difficulty in tiling curved pools is maintaining even adhesion and alignment. Curves increase complexity, making standard tile installation techniques insufficient. Specialized tools and flexible adhesives help accommodate the contour variations. Comparing flat and curved installations highlights the additional preparation needed. Best practices emphasize adapting methods to these challenging forms for reliable results.
For instance, installing mosaic tiles in a curved pool demands meticulous fitting and trimming. Consulting resources like our guide on installing mosaics in pools can provide valuable insights. Using flexible grout and adhesives minimizes cracking risks on these surfaces. Proper substrate preparation is essential to ensure tiles stick well over curved sections. This example illustrates how focused techniques improve outcomes in such projects.
In summary, mastering tile installation on curved surfaces is achievable through informed practices and specialized materials. This section sets the stage for detailed discussion on the best methods. The following sections explore how to tackle specific challenges within curved surface tiling. These insights are especially relevant for those working in Toronto, where local conditions impact project planning.
Preparation and Planning for Curved Pool Tiles

Effective tiling curved pools starts with thorough preparation and planning to prevent problems during installation. This phase ensures that all materials and tools fit the unique demands of curved pool surfaces. Proper groundwork is key to achieving smooth, durable finishes. Experienced installers emphasize the significance of planning in best practices. Without solid preparation, even the best talents face difficulties when working on curved designs.
Preparation involves assessing the curve radius, surface type, and environmental factors like Toronto’s climate. You also determine tile size and layout patterns suited for curved pools. This planning helps avoid tile cuts that are too small or uneven, which could harm the installation. Detailed measurement and sketching assist in visualizing the process before application. Planning ahead also helps in acquiring suitable adhesives and grout for this kind of surface tiling.
Beyond measurements, substrate preparation is critical. The pool surface should be clean, smooth, and structurally sound. Any imperfections can cause tile misalignment or adhesion failure. Surface waterproofing is also recommended to protect the pool shell. Compared to flat pools, curved surfaces need more precise substrate attention due to their shape. These preparatory steps save time and resources during the actual installation, ensuring longevity.
For practical application, installers in Toronto often use flexible backer boards and mortar designed for curves. This adaptation reduces material stress caused by bending. Such thoughtful adjustments reflect best practices and improve both aesthetic and functional results. Additionally, verifying all tools and safety gear are ready facilitates a smooth workflow. This example underscores the importance of preparation in curved tile projects.
Overall, planning and preparation are foundational to successful tile installation. This focus equips you with the right mindset and tools. The next section delves into specific materials and adhesive choices for curved surface tiling, building on this groundwork. By following these steps, you ensure preparedness for subsequent phases in your tiling work.
Choosing Materials and Adhesives for Curved Pool Surface Tiling
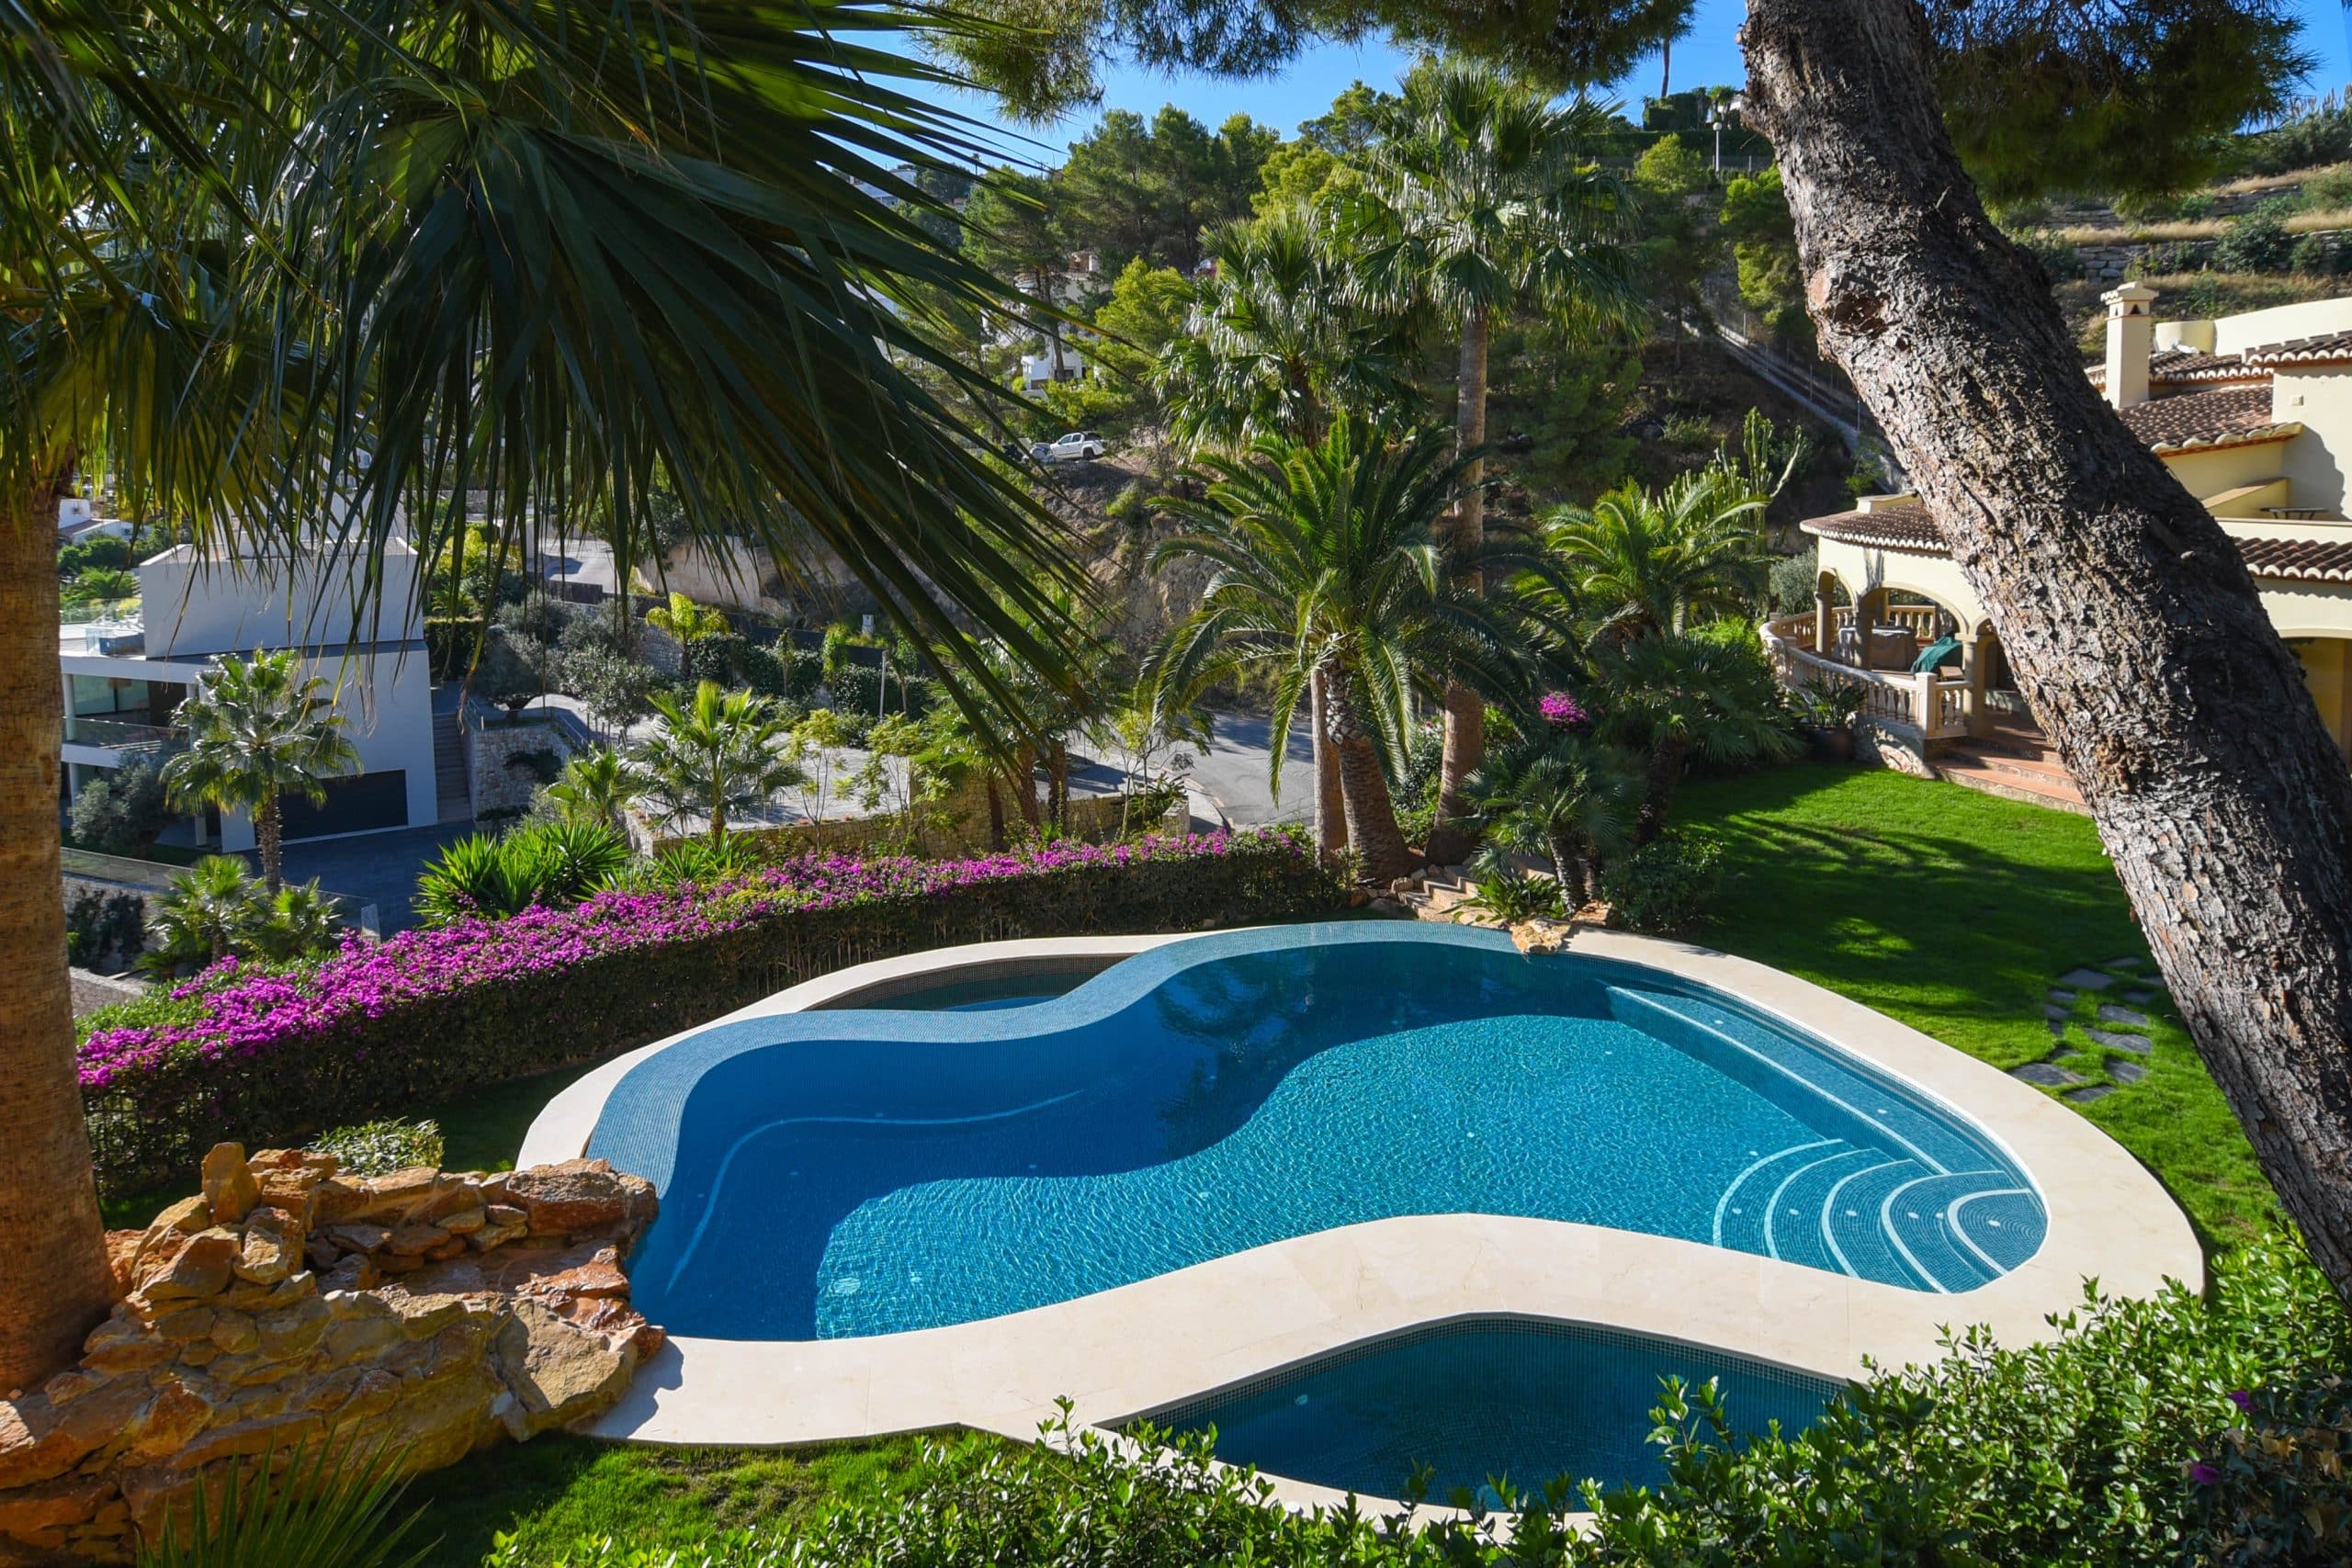
Selecting appropriate materials and adhesives is crucial for effective pool tile installation on curved surfaces. The right products accommodate curvature and resist environmental stresses, improving durability. Knowing which tiles and adhesives to use gives you confidence in handling complex tiling curved pools. This section explores recommended materials aligned with best practices. Careful selection prevents common failures like tile cracking or delamination.
Curved pool tiles often require small, flexible mosaic types or thin porcelain tiles that conform to curves well. Adhesives need elasticity to adjust with slight movements or temperature changes common in Toronto pools. Epoxy or polymer-modified mortars are examples that perform well in these scenarios. Choosing grout resistant to water penetration and chemical exposure further enhances longevity. Proper material choice creates a strong bond and seamless appearance on curved surfaces.
Comparatively, standard adhesives and large tiles are more suited for flat surfaces, not curves. Using the wrong materials can result in cracks or tiles popping out. Curved surface tiling demands flexibility both chemically and physically from installation materials. Carefully testing sample tiles and adhesives before full application is a smart move. This step minimizes risks and aligns with best practices recommended by professionals.
A practical tip includes consulting trusted sources like expert advice on preventing tile cracking. Such guidance offers specific product recommendations and application techniques for durable results. Selecting durable tiles and flexible adhesives facilitates maintenance and appearance over time. This example highlights how informed material choice supports successful curved tile installation.
In conclusion, material and adhesive selection is integral to robust curved tile installation. This knowledge prepares you for the intricate application process described next. Understanding these choices fosters better decision-making in your tiling curved pools projects. The upcoming section will focus on effective techniques to apply these materials correctly.
Techniques for Effective Pool Tile Installation on Curved Surfaces

Implementing the right techniques is essential for successful pool tile installation on curved surfaces. Practical approaches ensure tiles align properly and adhere firmly to complex shapes. Mastering these methods reduces labor time and improves finished quality. This section outlines proven techniques integral to best practices. By applying these strategies, installers achieve consistent, professional results in curved surface tiling.
Start by spreading thin-set mortar evenly using a notched trowel suited for curved surfaces. Press tiles firmly but flexibly to accommodate curvature variations. Avoid excessive force that could damage tiles or mortar. Work in small sections, checking alignment constantly. Techniques like wetting tiles before installation can enhance adhesion on curved pool sections.
Moreover, cutting tiles with a wet saw or manual nippers helps fit irregular curves smoothly. Pre-shaping tile edges minimizes gaps and maintains aesthetic flow. Spacing with small, consistent grout joints allows for expansion and contraction without cracking. Compared to flat surfaces, curved tiling demands a steady hand and mindful adjustments throughout. Proper tile layout visualization prevents awkward overlaps or misplacements.
For example, when tiling a curved pool edge in Toronto, using flexible spacers and mosaics speeds up alignment. Blending artistic skill with technical precision yields better results. Employing these techniques harmonizes with best practices and reinforces the installation’s durability. This practical application demonstrates how skill influences outcome in tiling curved pools.
To summarize, mastering application techniques advances your curved surface tiling success. These skills complement material choices and preparation covered earlier. The next section will address common problems during installation and ways to resolve them effectively. Understanding these challenges aids in prevention and troubleshooting.
Common Challenges and Solutions in Curved Pool Tile Installation

Curved tile installation often encounters specific challenges that require prompt solutions to maintain quality. Recognizing and addressing these issues is part of best practices. Awareness of common problems helps you prepare and respond efficiently. This section identifies typical difficulties and offers practical solutions for curved surface tiling projects.
One frequent challenge is tile cracking caused by improper adhesive use or inadequate substrate flexibility. Another is water infiltration due to insufficient grout sealing or surface preparation flaws. Uneven tile placement can occur from rushing the process or poor planning. Temperature and moisture changes, particularly in Toronto pools, exacerbate these issues. Knowing these challenges guides careful monitoring during installation.
A recommended solution includes using flexible, high-quality adhesives and grouts suited for curved surfaces. Routine inspection and correction of tile alignment prevent warping and gaps. Ensuring complete waterproofing and substrate readiness reduces moisture problems. Implementing gradual curing times grants adhesive optimal bonding strength. These preventive actions align strongly with established best practices.
For example, addressing edge cracking by applying additional sealant and using flexible membrane liners under tiles can mitigate damage. Consulting technical resources or professionals increases problem-solving success. Applying these corrective measures timely keeps curved tiles intact and visually appealing. Such examples illustrate how understanding challenges enhances project outcomes.
In conclusion, anticipating and resolving common issues is integral to successful tile installation. This knowledge supports the use of proven techniques and materials for curved surface tiling. The following final section focuses on ongoing maintenance tips to maximize your curved tile investment over time.
Maintenance Tips for Longevity of Curved Pool Tiles

Maintaining curved pool tiles properly ensures longevity and preserves aesthetic appeal. Regular care prevents deterioration and costly repairs, especially in Toronto’s climate where pools face variable conditions. This section shares essential maintenance tips aligned with best practices. Applying these steps protects your investment in curved surface tiling.
Start maintenance by cleaning tiles regularly with non-abrasive cleaners to remove dirt, algae, and mineral buildup. Avoid harsh chemicals that can damage grout or tile finish. Inspect grout lines frequently for cracks or gaps and reseal as needed to prevent water damage. Maintaining balanced pool water chemistry reduces tile discoloration and degradation. These proactive measures support overall pool health and tile appearance.
Besides cleaning, schedule periodic professional inspections to identify underlying issues early. Promptly addressing any loose tiles or grout defects mitigates further damage. Using appropriate pool covers during off-seasons minimizes exposure to extreme weather. Compared to flat pool surfaces, curved tiles might require closer scrutiny due to their shape and stress points. Consistent maintenance extends the life of your curved tiles significantly.
For practical advice, homeowners in Toronto often follow detailed guides and consult installation experts on specific upkeep. Integrating recommendations from related tile sources enriches knowledge and keeps maintenance current. These accessible resources help maintain optimal conditions. Such systematic care promotes durable and attractive pool tile installations year-round.
In summary, ongoing maintenance is crucial for sustaining curved surface tiling quality. Emphasizing cleaning, inspection, and protective measures enhances tile durability. By following these best practices, you ensure your tiled pool remains a beautiful feature for many seasons. This final insight completes our comprehensive guide on installation for curved surfaces.
- Use flexible adhesives designed for curved surfaces to prevent cracking.
- Plan tile layout carefully considering the pool’s curves for uniform coverage.
- Clean pool tiles regularly using mild, non-abrasive cleaners to maintain appearance.
- Inspect grout lines periodically for damage and reseal as necessary.
- Employ professional advice and credible resources to improve installation quality.
- Maintain balanced pool water chemistry to prevent tile discoloration and deterioration.
